A Case Study by John Dunigan
The Problem
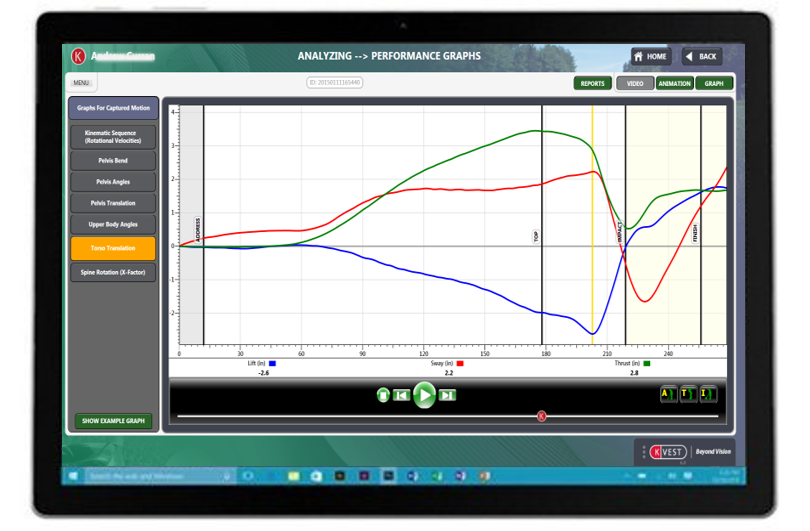
Everything started well enough. I was working with a high school athlete who was beginning to make great strides in his on-course performance. Unfortunately, he would hit heel strikes and gear effect slices with his driver. Occasionally, he would even hit a shank with his irons. It turned out his swing flaw was a direct result of a body movement flaw that was visible to me in the torso translation graph below that I captured with my K-VEST 6D system.


The Assessment
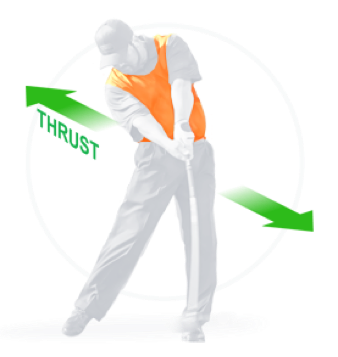
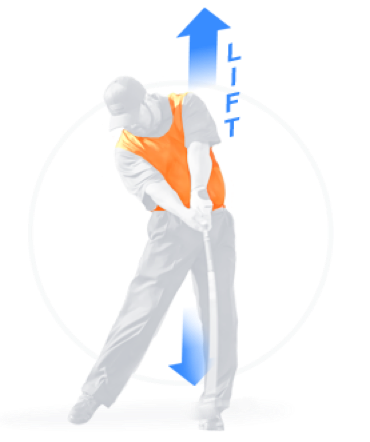
One of the things that I’ve learned from coaching is the importance of focusing on one task at a time with my golfers. Asking a player to work on multiple things at once, generally, in my experience, slows progress. The key, I’ve found, is to pick the right starting point. In this case, I could tackle the thrust issue or the lift issue. Certainly, there is a lift issue, I thought, but improving the thrust ought to improve the lift. Having made this analysis, I was excited to see how things would shake out after altering just a single movement aspect—the thrust.
The ability to measure an athlete’s motion in fine detail, as I had done as illustrated above, is important, without doubt. I cannot eyeball certain parts of the swing with enough accuracy, even using high speed video, to tell what is really happening. The camera may not lie, but it doesn’t give you the whole picture either. That is why I measure with my K-VEST 6D. It provides the equivalent of an MRI of the golf swing.
I always begin my assessments with three questions:
1. What’s the ball doing?
2. What’s the club doing to the ball?
3. What’s the body doing to the club?
Then I ask perhaps the biggest question: What are the golfer’s conceptions and beliefs about the swing? So many golfers have movement flaws that are based upon prior information as well as misunderstandings. If we fail to uncover these ideas, the conflict in the golfer’s mind may very well prevent improvement. In the case of my high school golfer, I measured his movements and assessed him as a golfer who needed to focus on working on his thrust during the swing. His concept of this crucial motion—thrust—was mistaken and needed changing: he’d been exaggerating turning his left shoulder down toward the ball, causing the excessive movement in both thrust and lift.
Once I have been through my measurement and assessment process, it’s time to coach and train. As important as measuring and assessing are, it is coaching and training the correction that delivers the results to my golfers. And the key for me in creating motion improvement is the wealth of biofeedback activities in K-VEST.
The Correction
Using K-VEST biofeedback, we were quickly and easily able to set the software to emit a sound as long as my player’s upper body was within the target parameters. The student had to do all the work for himself in order to keep the tone sounding throughout his motions. “He who does the work does the learning,” is a large part of my coaching philosophy. Within minutes, he was able to begin hitting shots with a considerable improvement in both movement and, more importantly, ball strike.
For Comparison Purposes
Shown below are the “before” and “after” graphs.
At impact, his thrust had improved dramatically from ½ inch toward the ball, to 1.5 inches away from the ball (compare the orange circles), and therein lay the improvement in strike quality.
Fig 2.) AFTER: At impact, his thrust had improved dramatically from ½ inch toward the ball, to 1.5 inches away from the ball (compare the orange circles), and therein lay the improvement in strike quality.
Results and Improvement
Finally, as expected, the player’s lift graph improved significantly due to the thrust improvement. His original drop of 2.5 inches became just one inch (compare the yellow circles). After this program his ball-striking consistency improved greatly.
K-VEST® biofeedback sped the learning of the new movement like nothing else. I use it because it’s fun, quick, and effective. So while the anti-technology debate continues, I will happily continue making fast progress with my students by using the latest technology, namely, K-VEST 6D, to measure, assess, coach, and train for superior results.